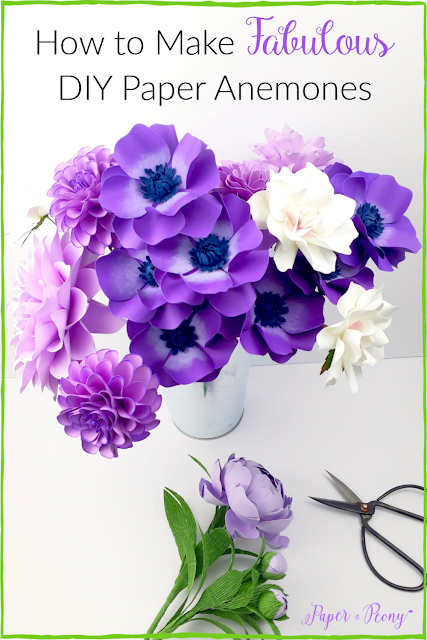
Paper Anemones in 5 Easy Steps!
The Anemone
When it comes to looking delicate and graceful, Anemone flowers are pros. These charming blooms inspired poets, artists, and songwriters for centuries with their colorful cup-shaped petals and contrasting dark or yellow centers.
The anemone flower’s message is: “Look forward to the future and don’t forsake the ones you love. Something new is always around the corner, no matter how dark things might look right now.”
– Flower Meaning
 |
| Gorgeous Paper Anemones available in the shop! |
To make the anemone you’ll need:
Templates from my book "Bold & Beautiful Paper Flowers".
To access the digital files: CLICK HERE
OR you can get Anemones pre-cut petal DIY KITS HERE (on sale this week 50% off)
OR you can get Anemones pre-cut petal DIY KITS HERE (on sale this week 50% off)
-Scissors
- Curling tool (I use sushi sticks!)
-Dimensional tool (round tip of a paint brush will do!)
-Glue Gun and glue sticks
-Pliers
-Vicki Boutin Art Crayons - White
 |
| Paper Anemones sitting in a vintage teacup |
First, you want to add the white distress effect to one of the large petal layer (P-05) by rubbing the white crayon close to the middle of the petal layer
Using the sponge, rub gently the white marks to blend the white crayon to create the natural white effect on anemones. (View the Art CrayonVideo here)
Now curl the edges of all three larger petal layers (P-05) including the one distressed with white art crayon by using the skinny part of your curling tool. You’ll want to make sure that all four petals on these templates are curled with one side facing up and the other side of the petal facing downwards.
Starting with the larger petals (P-05), dab a small amount of glue in the center of the petals layers staggering the petal placement of each layer to create a nice full bloom.
To prepare the stamen you will need your dimensional tool and the molding mat as your working surface. Apply light pressure to the middle of all three (P-24) petals, creating a circular motion. The edge of the petals should curl up as you do this.
To prep the smaller petal layers (P-24) you want to cut in half all the tiny petals.
dab a bit of glue to two small petal layer (P-24) and stagger them one on top of the other then place it to the middle of the large petal layer (P-05).
Dab a little hot glue on the inside two remaining of the smallest petals (P-24) and nest them inside each other with their petals facing up. You want to squish the nest with your finger to create a tiny ball. Now add to the center of the flower.
 |
| Gorgeous paper anemones as table decor or napkin holder! |
 |
| Beautiful bridal bouquet with purple colored paper anemones! |
Looking forward to see all your beautiful paper anemones! Don't forget to tag me @paperandpeony on Instagram or @Paper & Peony on Facebook
and use hashtag #boldandbeautifulpaperflowers for a chance to be feature!
Happy "Forever Bloom Making!"


Comments
Post a Comment